Step 1 (setting up your AI coding enviroment (P.S. you can do this or just make the website on claude.ai) )
Step 1.1 (setting up ollama)
- go to ollama.com
- download ollama app for windows or mac
- open the ollama app
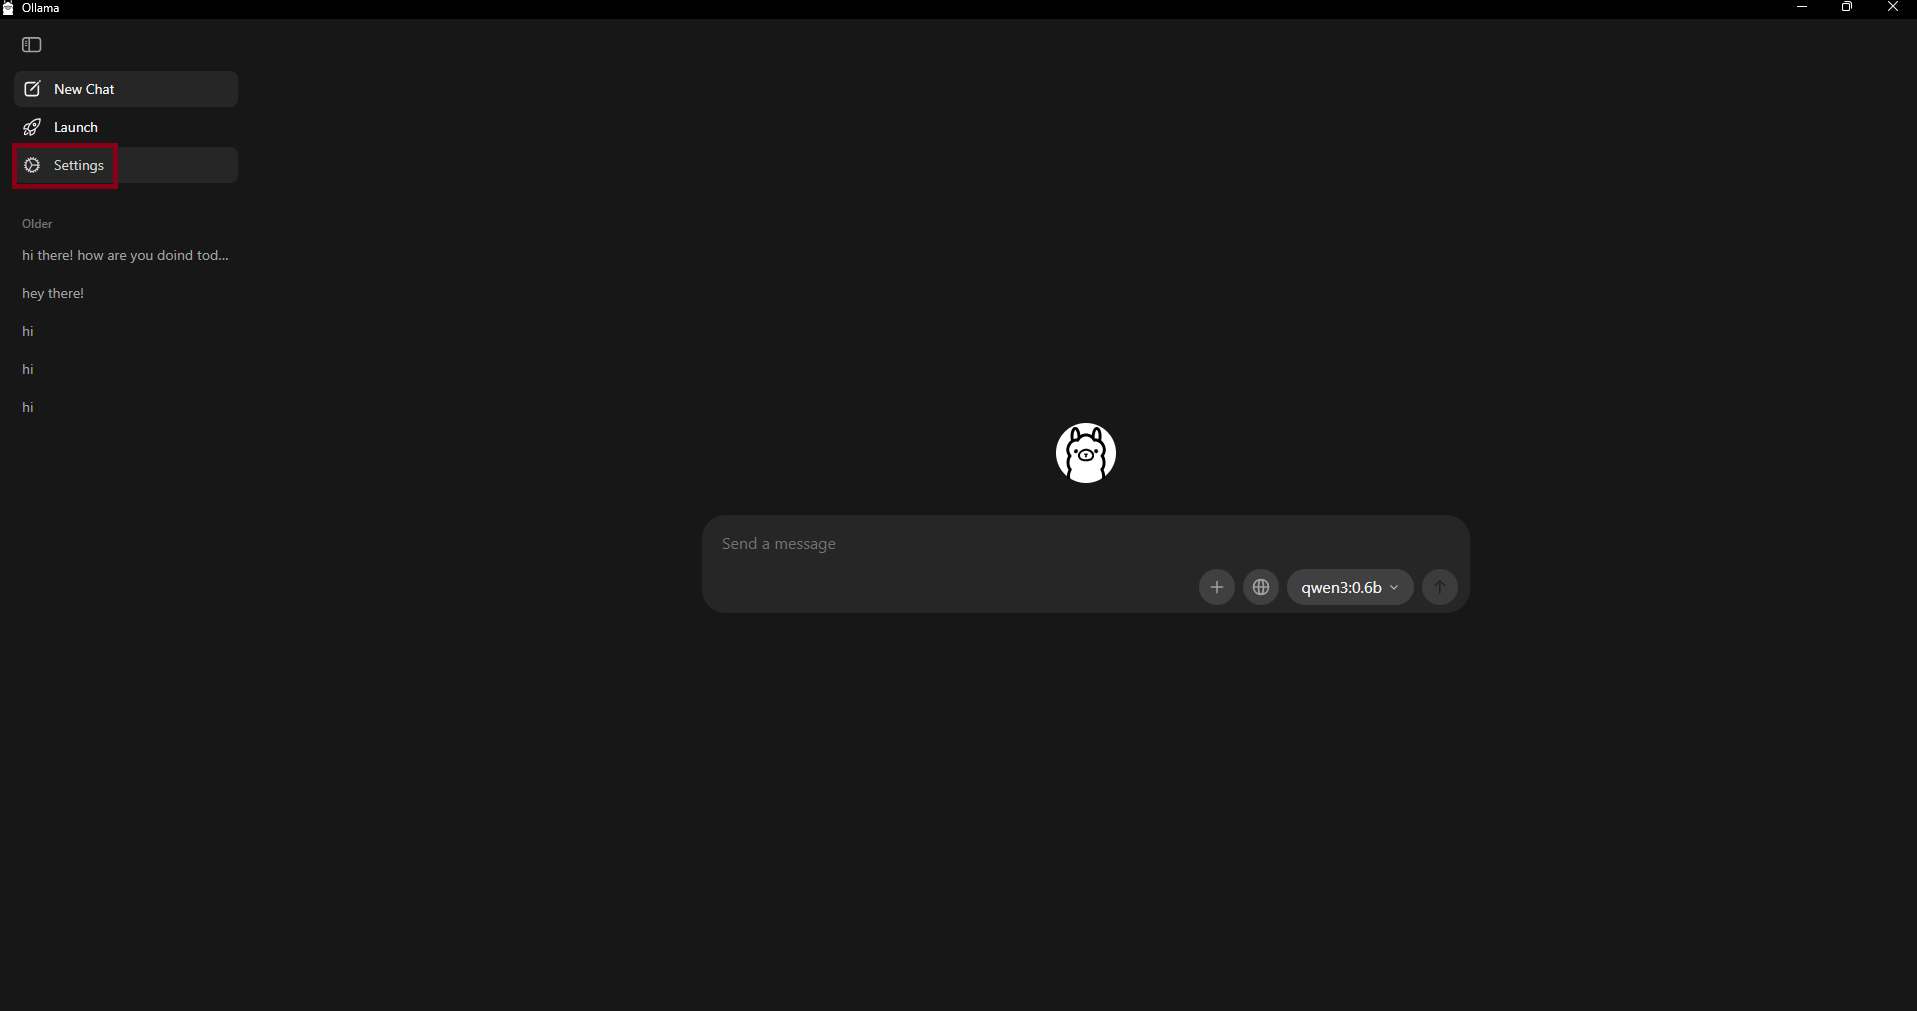
- go to settings:
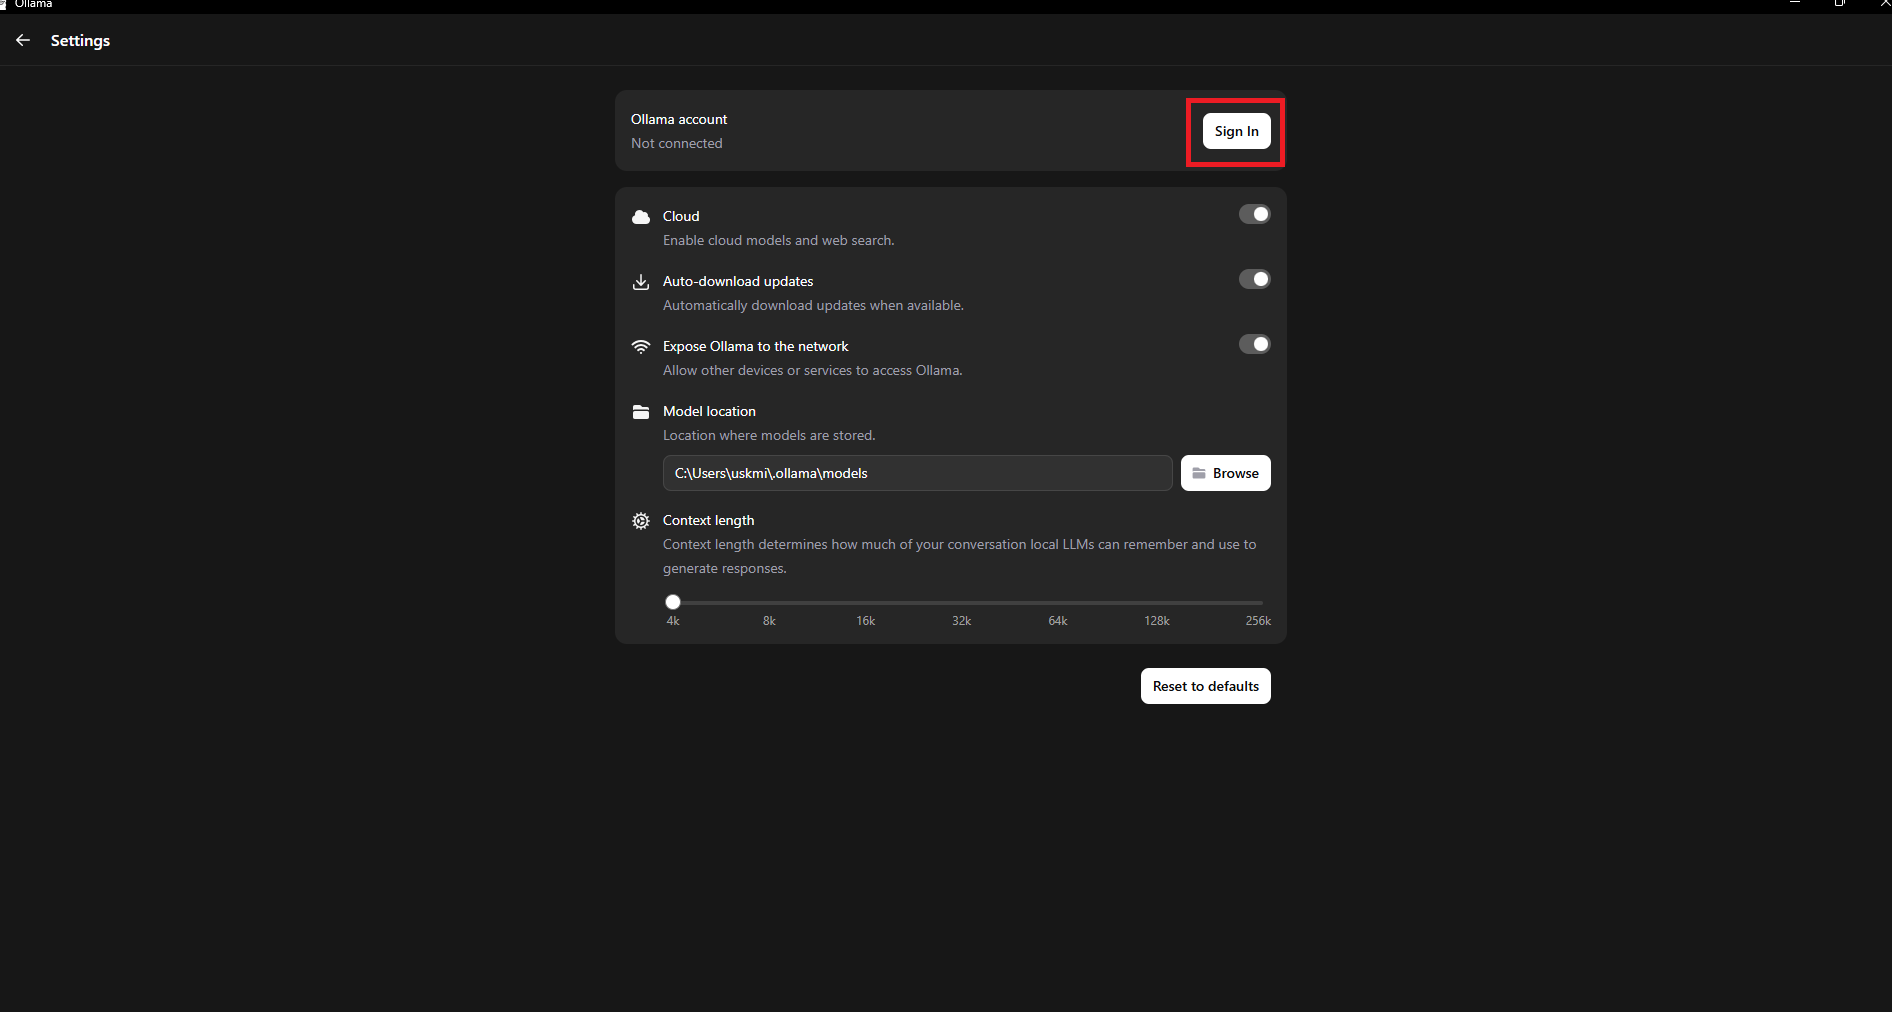
Then go to Sign in:
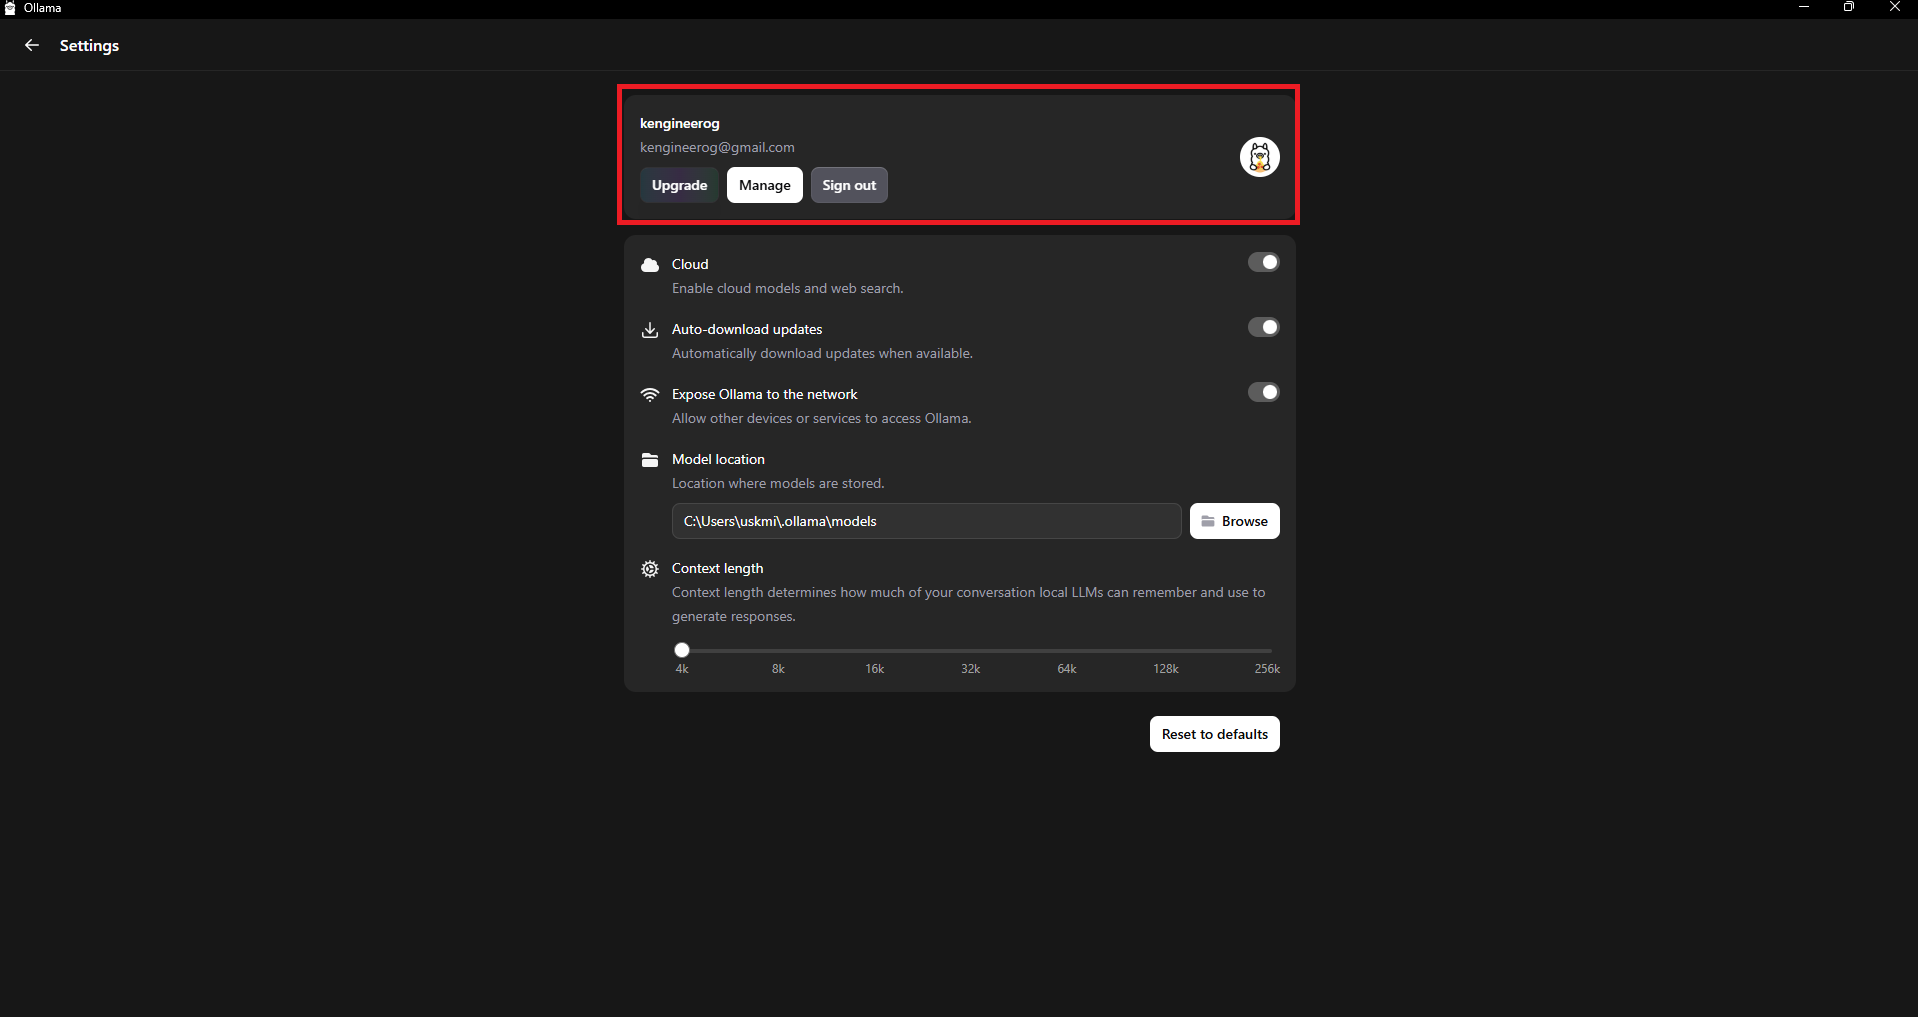
After signing in, you should see something like this:
After that, go terminal and type ollama signin, sometime it says its already signed in like:
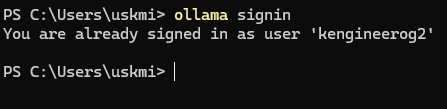
if not, just sign in again, then your set!
then, to test it, go to Powershell in windows or Terminal and type ollama run glm-4.7:cloud:
ollama run glm-4.7:cloud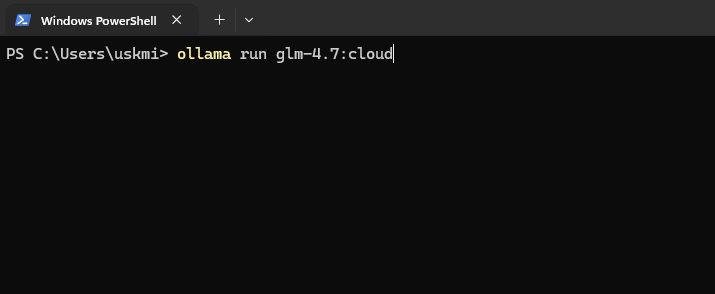
When you run that, you should see this:
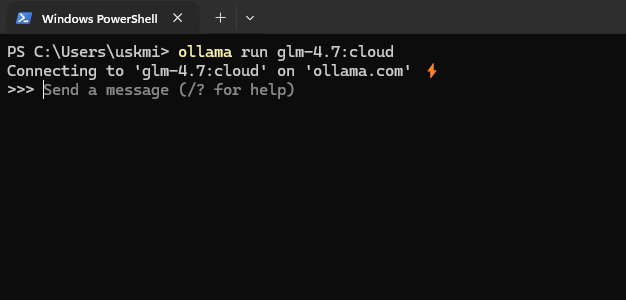
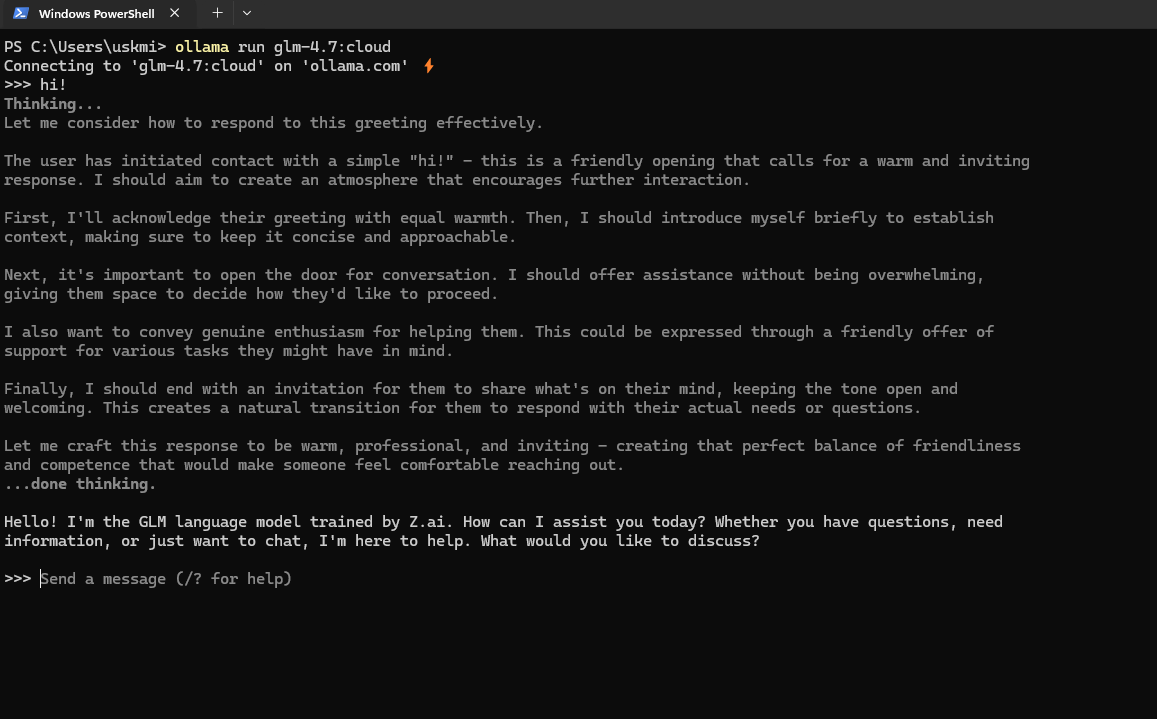
A simple Hi! checks if you are actually signed in
Step 1.2 (Installing Claude Code)
- go to terminal (in mac) and type
curl -fsSL https://claude.ai/install.sh | bash, and for Powershell (Windows), typeirm https://claude.ai/install.ps1 | iex
Step 1.3 (making the website)
- Go make a directory, so
downloads/my-web-pagefor example to work on. - Then go to your directory, so
cd {your path}, example:cd downloads/backup/hallo - Then, go to terminal and type
ollama launch claude --model glm-4.7:cloudand you should see:
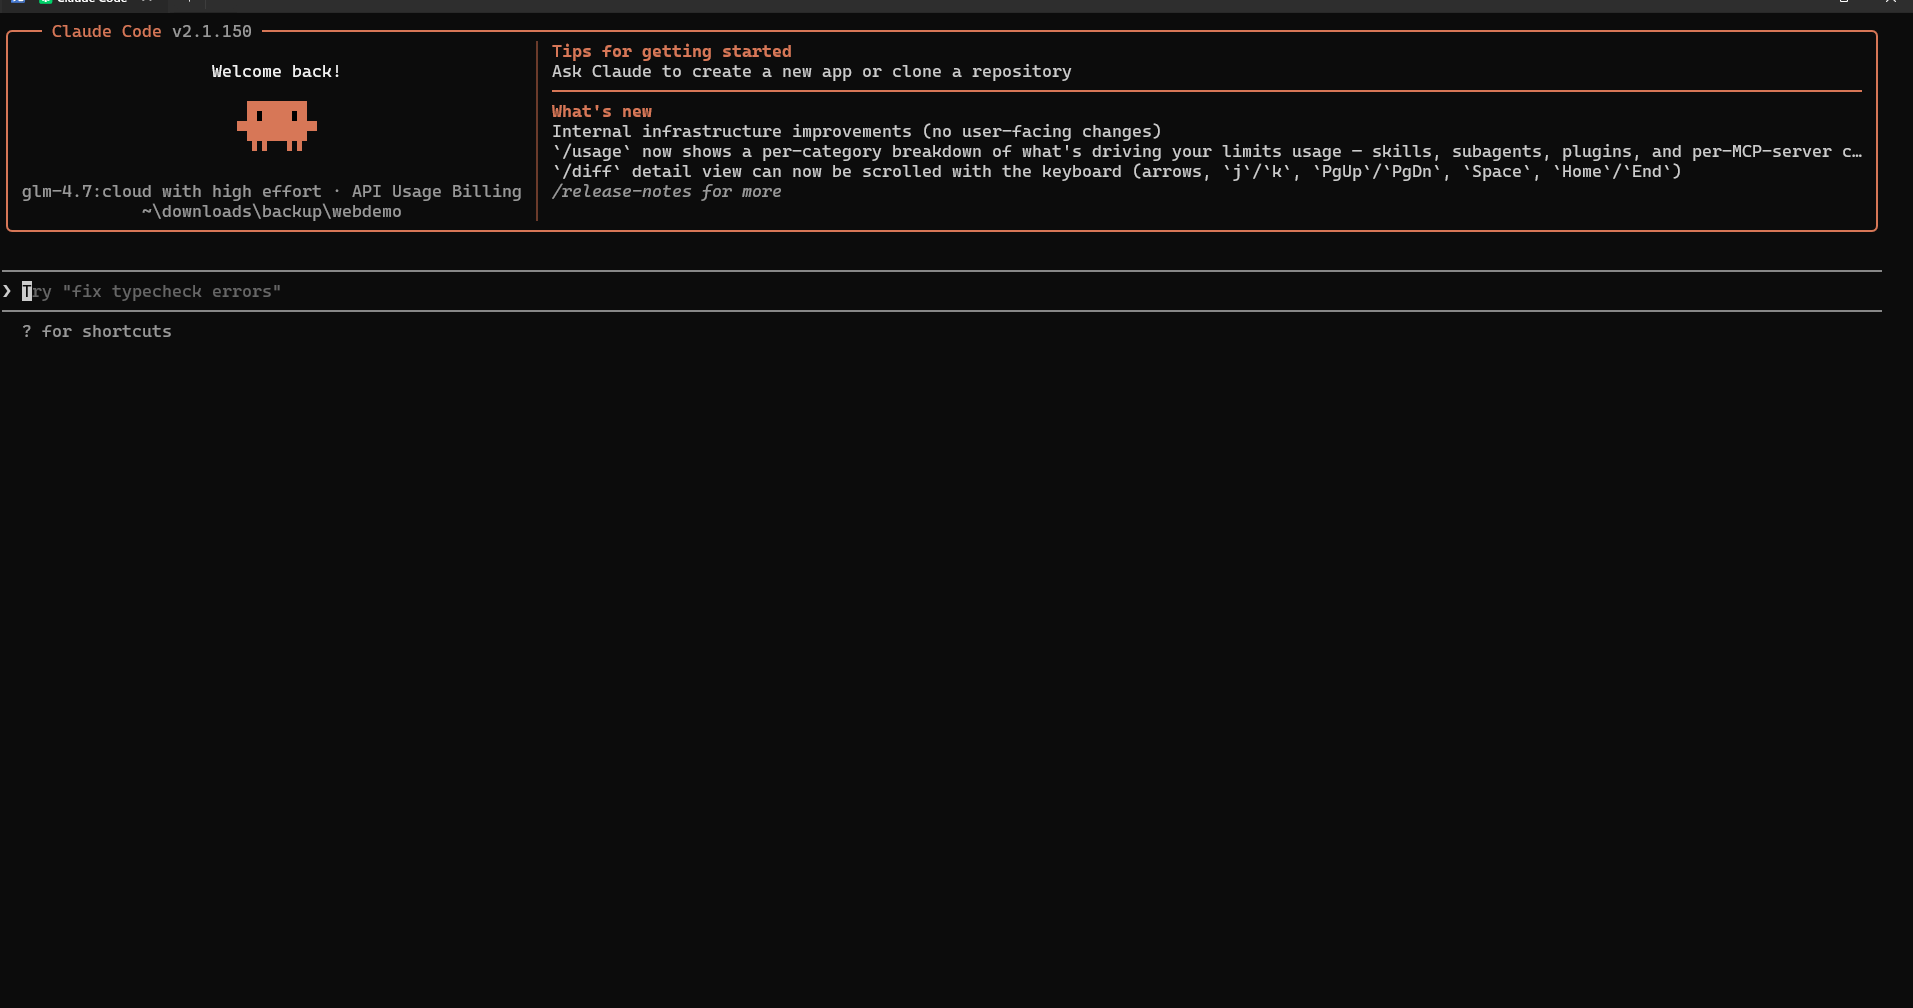
Now you can work on your website!
Step 1.4 (Installing claude skills)
- first, get the Taste skill which teaches the model what looks like AI generated slop and what is aesthetically pleasing. To download it run
npx skills add Leonxlnx/taste-skillin your terminal. select skills by pressing space and move down.
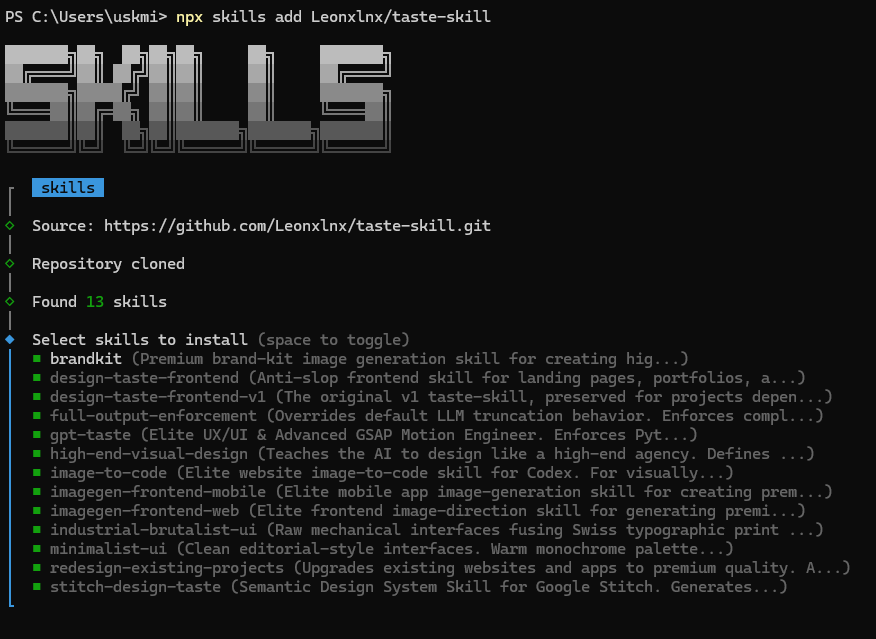
Then make sure that claude Code is selected:
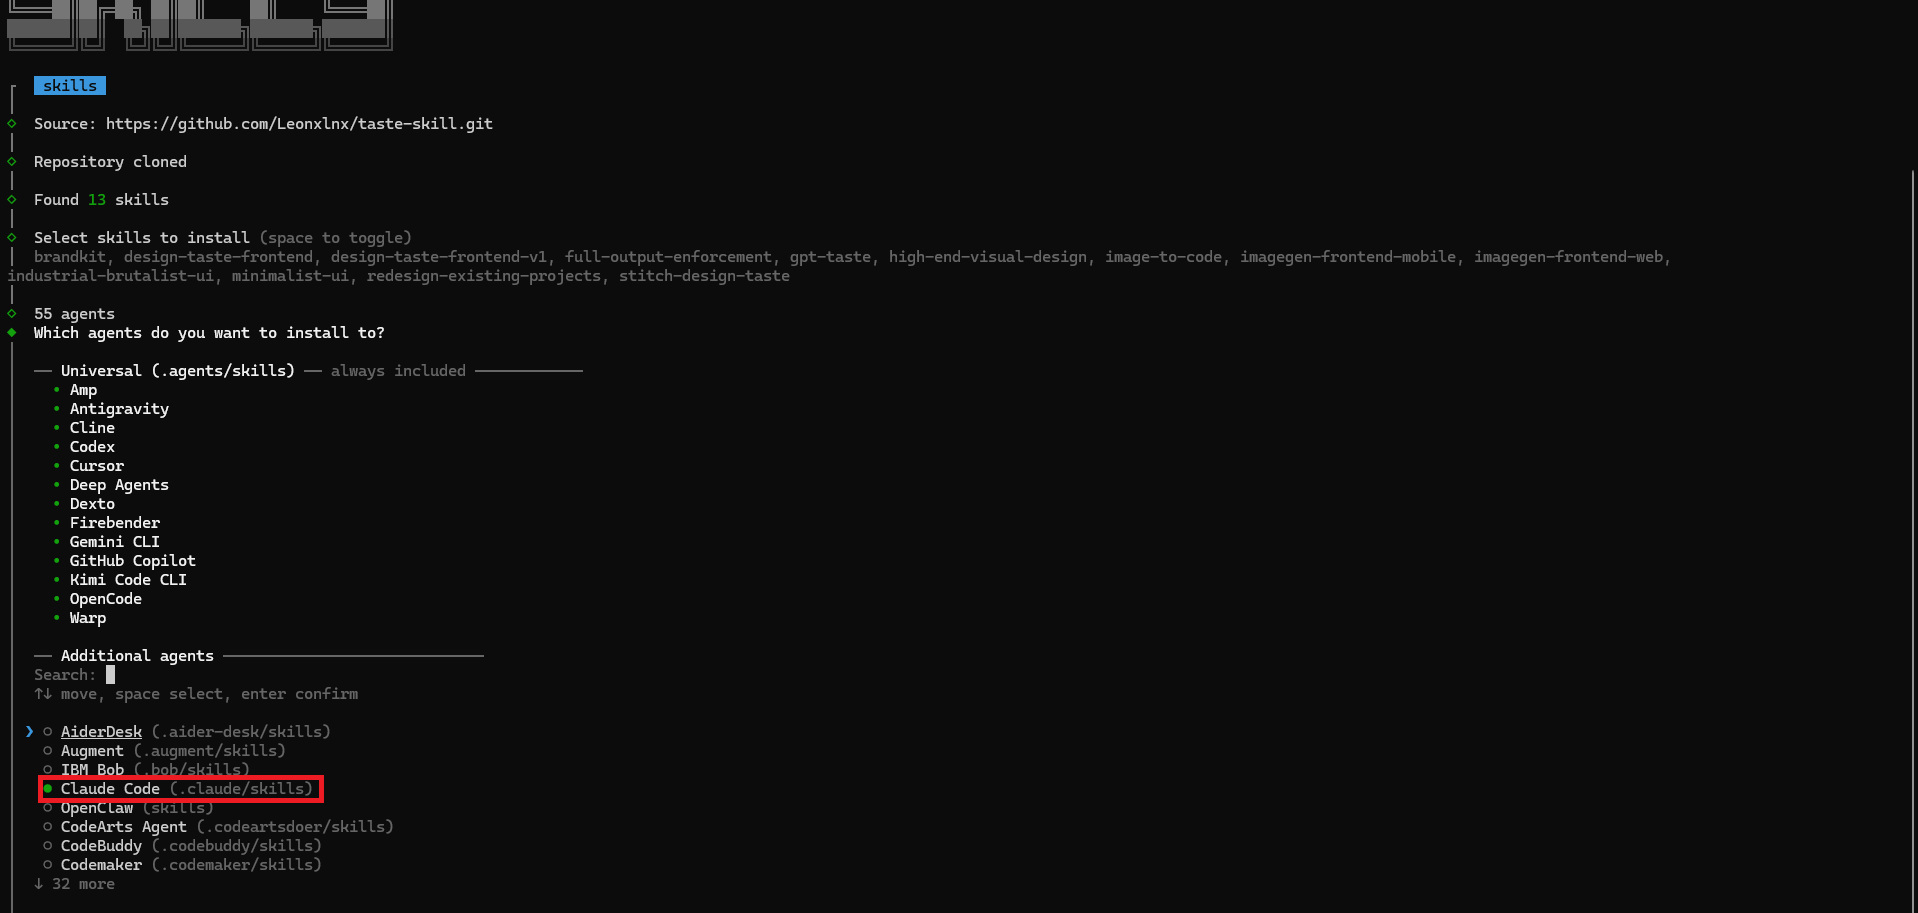
Then press enter and press global:

Then press enter, and select Symlink as the Installation method, and press Proceed with install.
Next skill Is the Impeccable skill. Run npx skills add pbakaus/impeccable
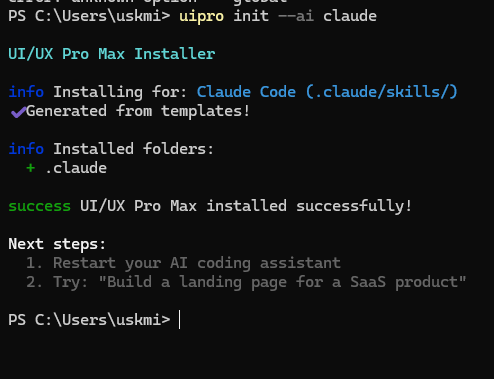
Install UI/UX pro max by running uipro init --ai claude:
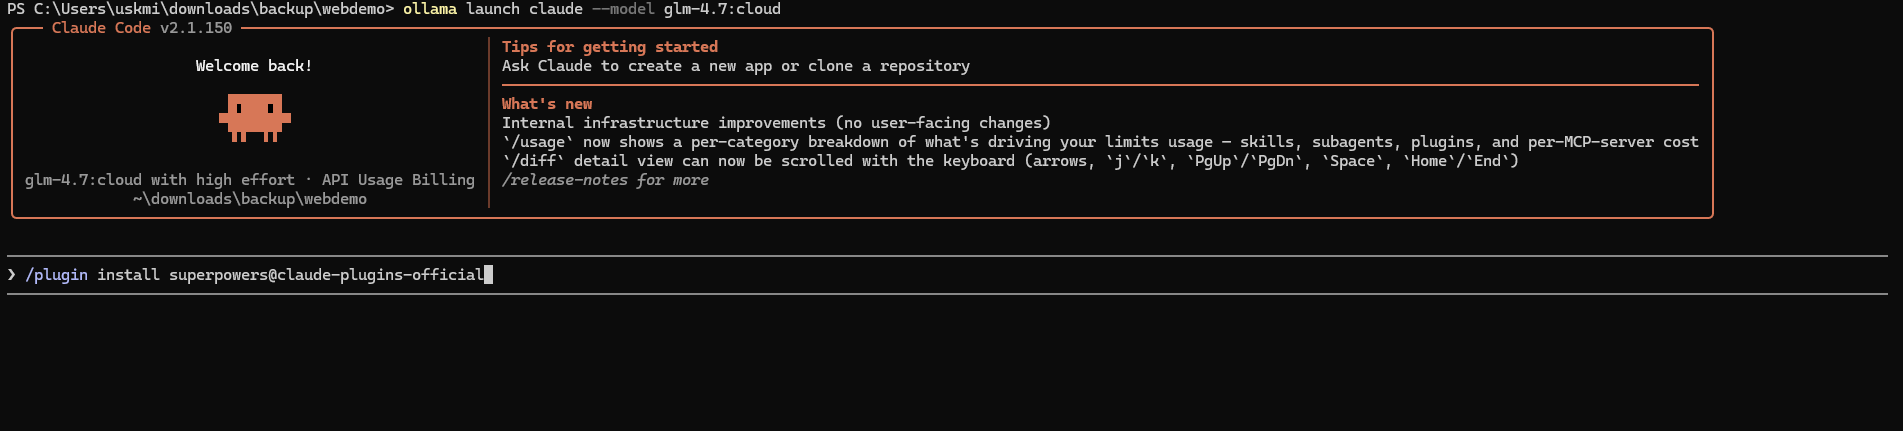
Install Superpowers Skill in Claude Code by running /plugin install superpowers@claude-plugins-official and follow prompts:
Step 1.5 (Initializing the skills)
Run these one at a time in Claude Code: /impeccable, /ui-ux-pro-max, /using-superpowers
step 2 (The vibe coding (Also P.S. you can just tell claude to make it anyway) )
- now, you can tell what you want to make to claude, and tell it to make a prompt for Claude Code, so the prompt for claude will be something like this:
hi claude! I need your help making me a prompt for claude code, I have 3 skills, superpowers, impeccable and ui-ux-pro-max skill. The website must be a HTML page without any react or anything like that since this will go onto github pages. I want to make a website for {website idea}. - Claude will give you a nice polished prompt like (my example): example prompt.
- Then you feed that prompt to Claude Code:

- If it asks for any tool use, let it cook! just enable all the tool calls and command line uses it asks for, if there’s an error it will fix it itself, something like:
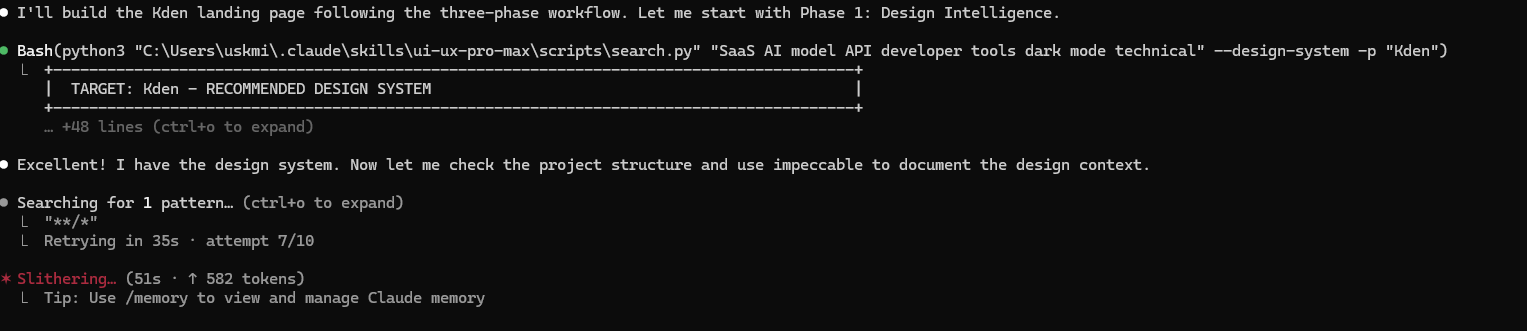
Then, when you are done, it should give you a simple html file output, like Example Webpage.
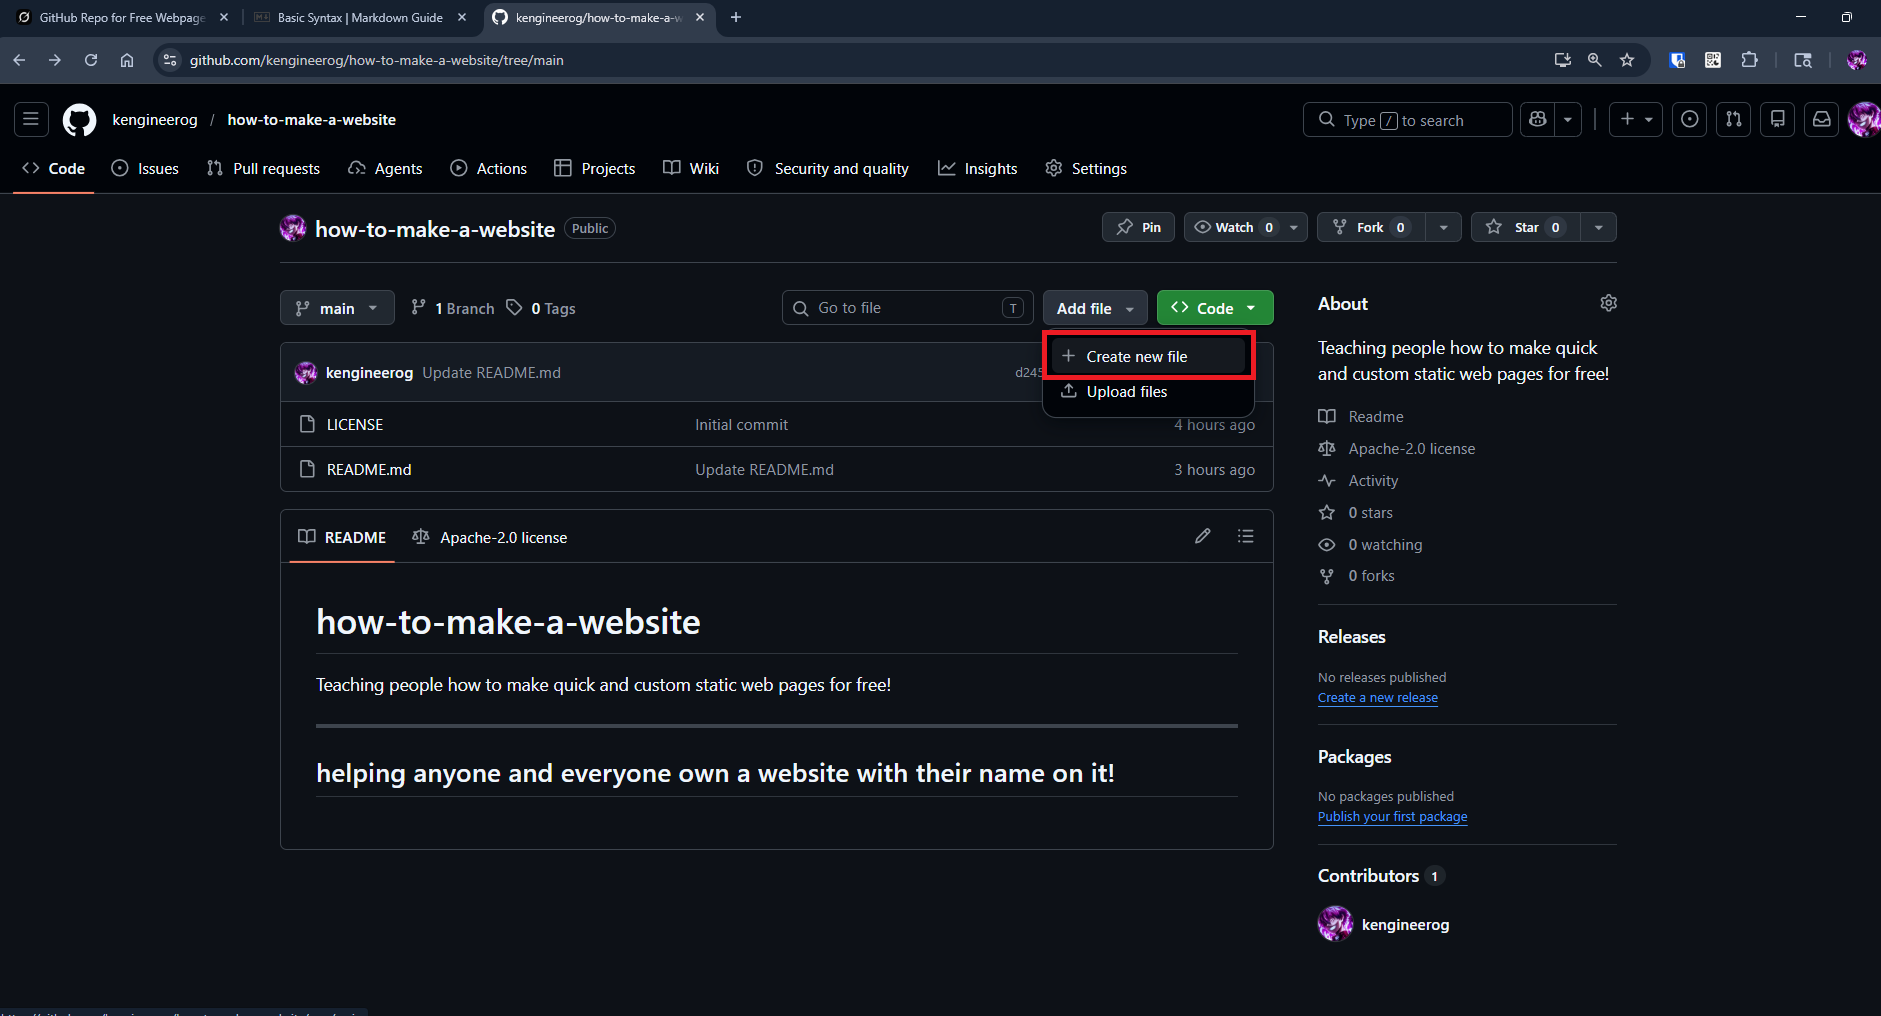
With that, you are now done with the Vibe Coding step! now, open the html file (not chrome! in a text editor), and copy it. Then, head onto github.com, and create a new repository for this. After this, click Add file, and then Create new file:
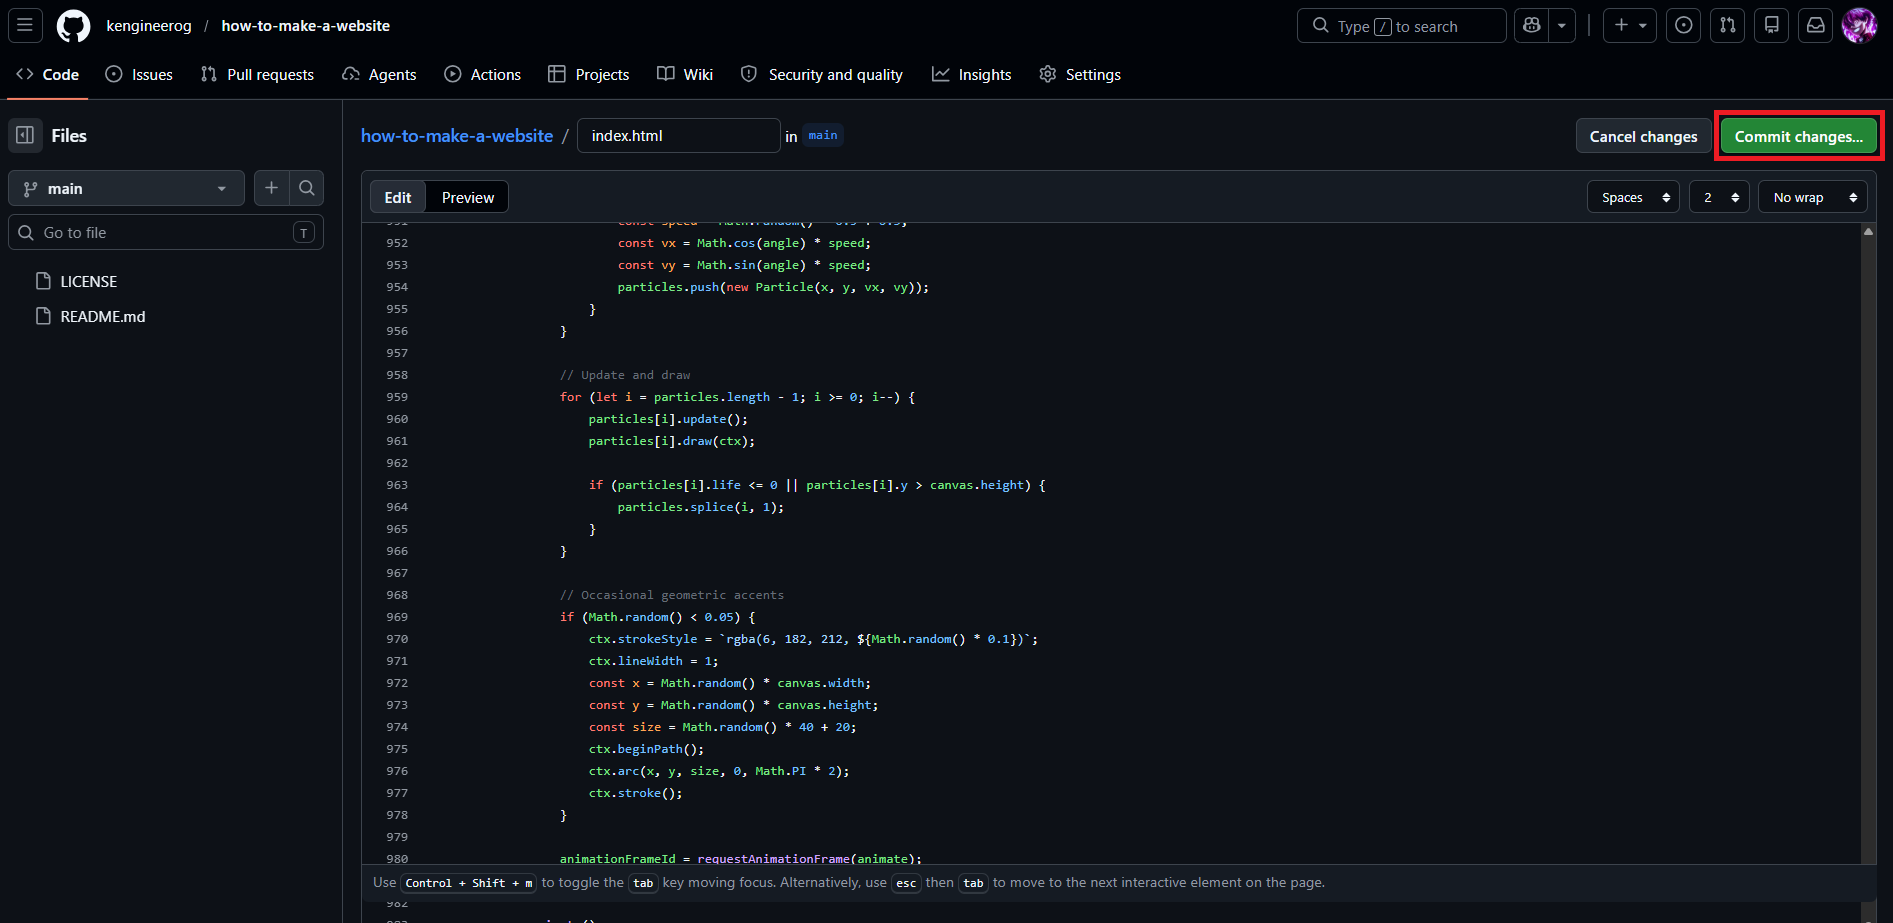
And call it index.html (required!), then press Commit Changes:
Now, head onto cloudflare pages, then sign up. After that, go onto Compute and then Workers & Pages:
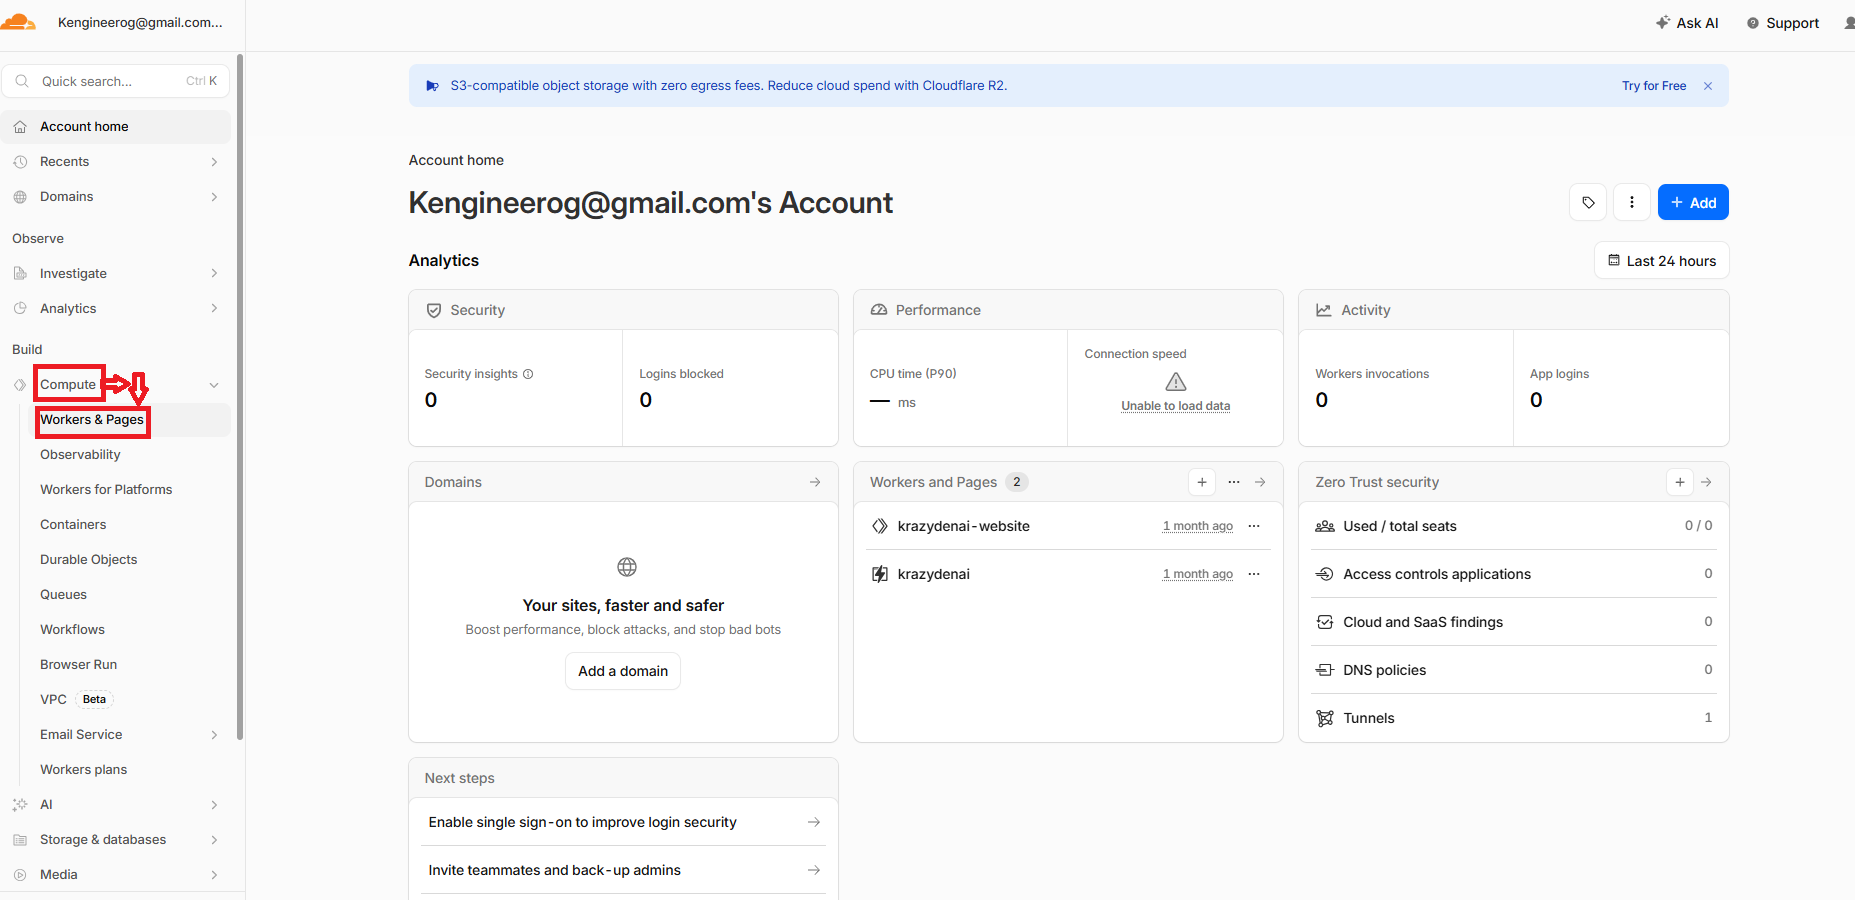
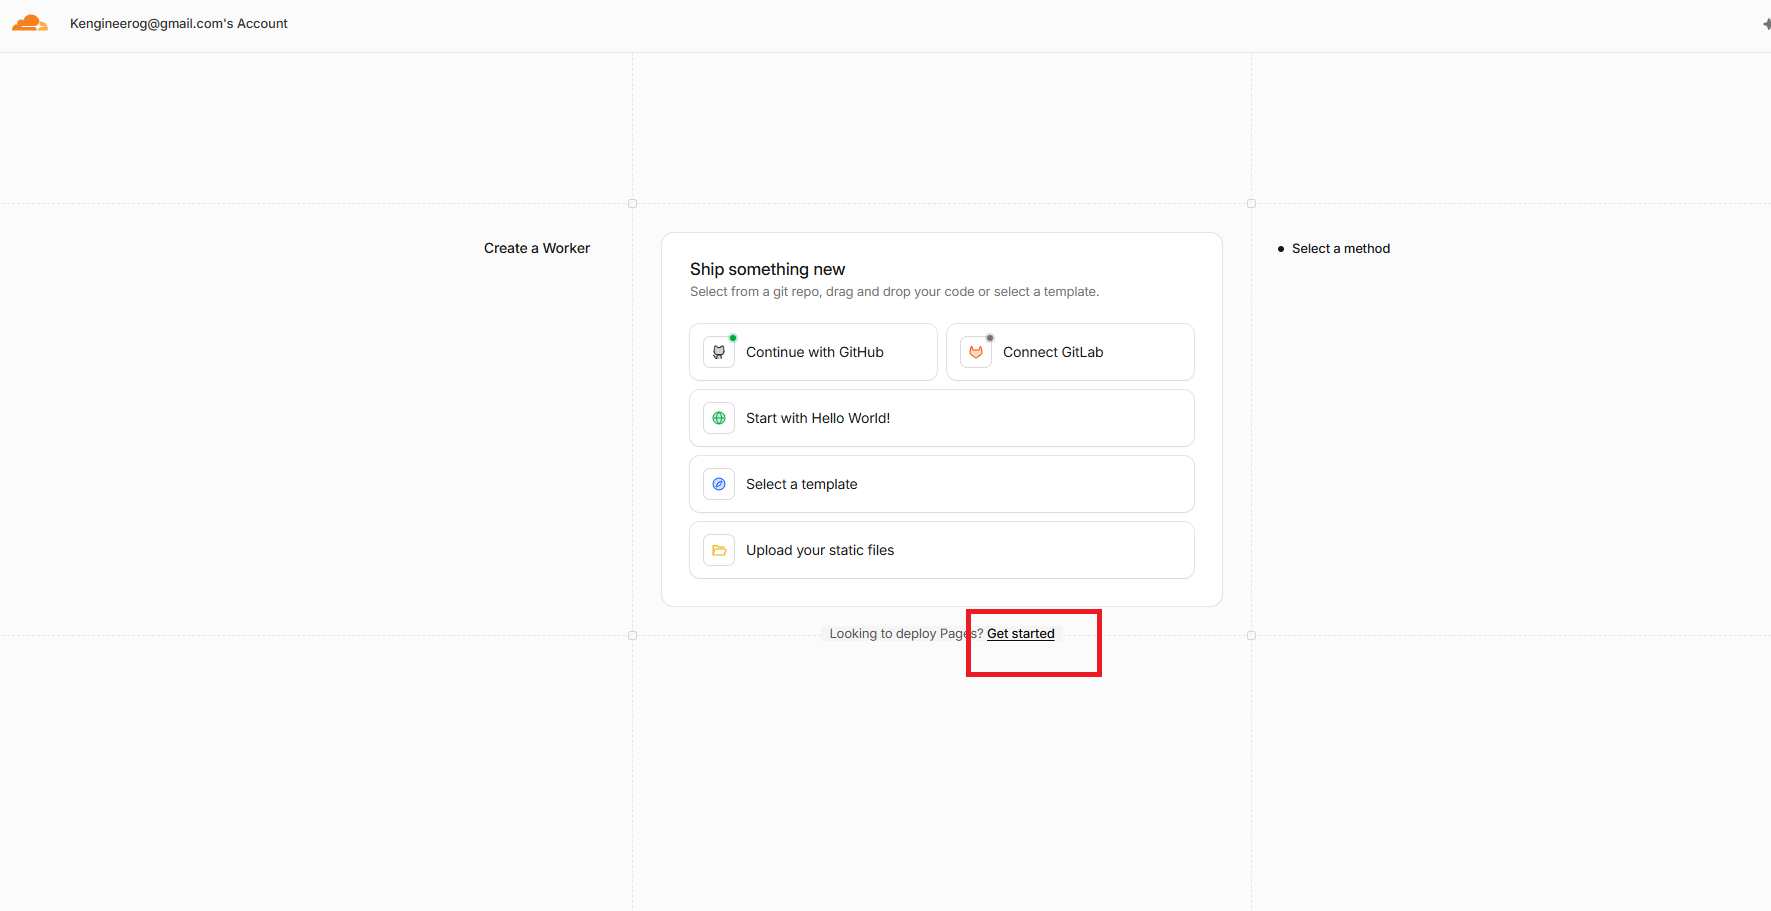
After that, click on Create Application:

After that, press "Looking to deploy Pages? Get started!" thing
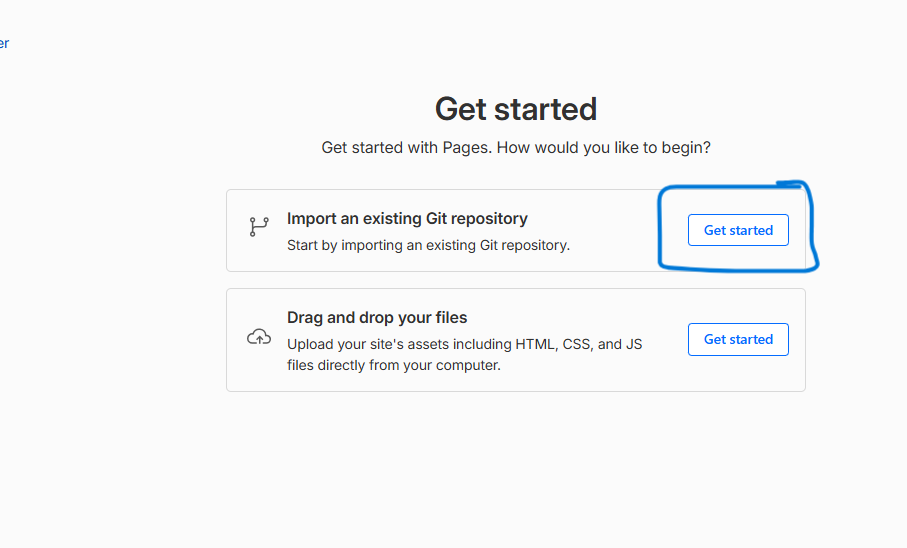
After that, press "Import an existing Git repository"
Now press "Connect Github"
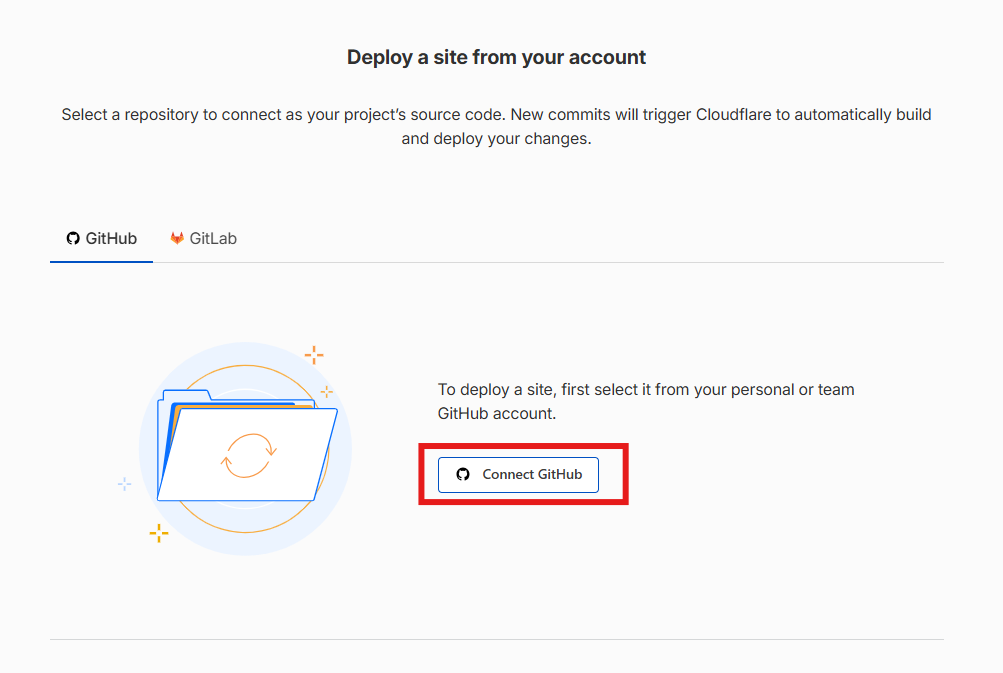
After the Setup process, you should see your github account
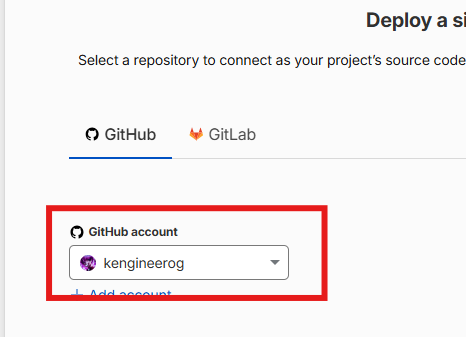
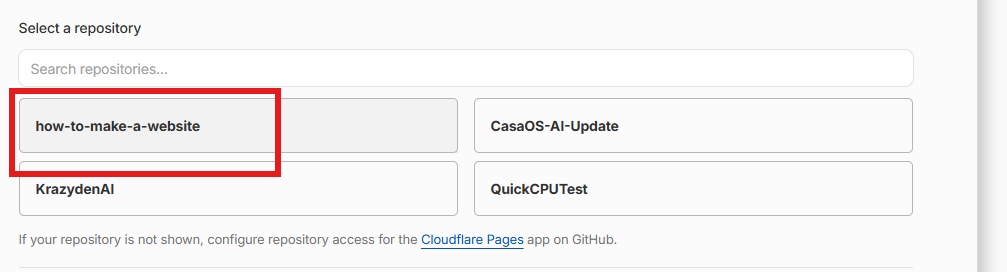
And then select your repository and press Begin Setup
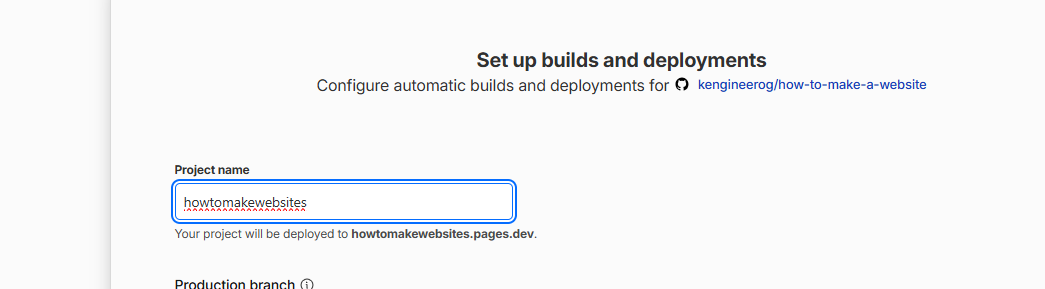
Then, change project name to get your "website_name.pages.dev"
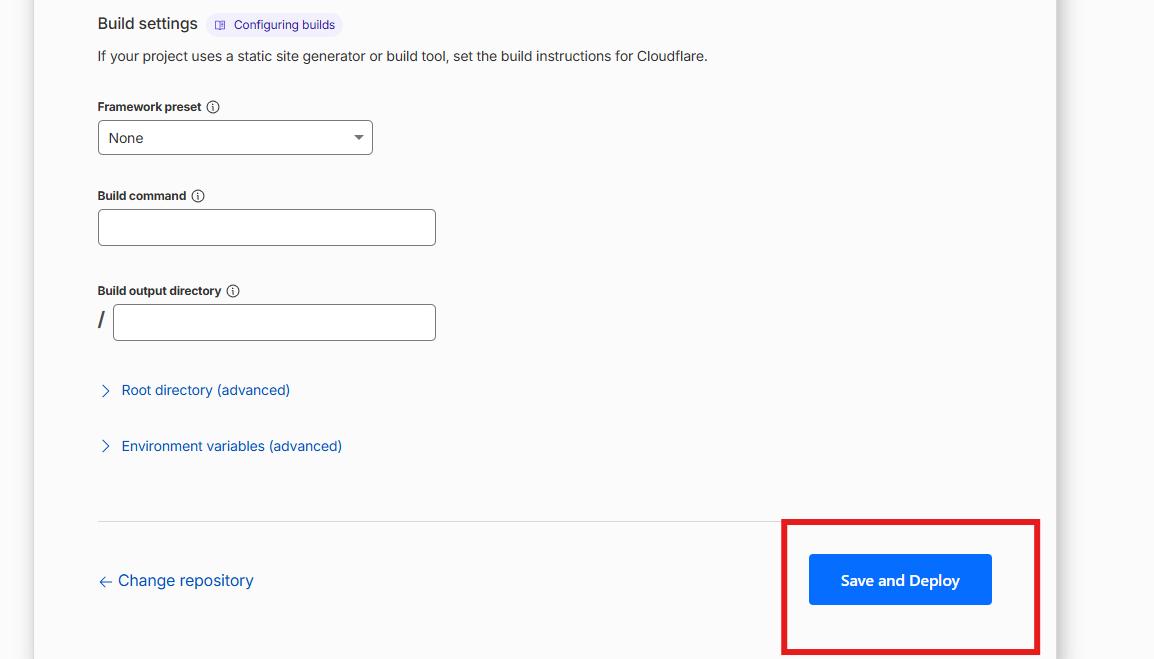
After that, scroll down and press "Save and Deploy"